GitHub Releases - Short & Practical Guide
GitHub releases a designed to help you package and distribute your project iterations. They're built on Git's tagging feature. As such, to work with GitHub releases, you need to understand Git tags.
Git tags - the foundation of releases
- A Git tag is a reference to a specific commit
- It acts like a bookmark in your Git history
- You can create a tag for any commit, not just the one
- Tags are immutable, they don't change even if the code changes
Types of Git tags
- Lightweight: A simple pointer to a specific commit
- Annotated: Like a lightweight tag but with added information like messages, author, date, etc.
Learn more about git tags from the git-scm docs.
Why not just use commits?
- Readability: Tags provide human-readable names for commits instead of a complex hash. This makes it easier to search and identify notable points in your Git history
- Easy Management: Unlike commits which are hard to reverse or change, tags are easy to create, delete, move or rename
- Metadata: Annotated tags allow you to store additional metadata such as a message, author, date, etc.
- Immutability: As mentioned above, the code content of a tag never changes making them suitable for creating releases
Creating & managing tags
The official git-scm tagging documentation has good examples for how to create and manage tags. In short:
- Lightweight tag:
git tag <tagname>, e.g.git tag "v1.0.0" - Annotated tag:
git tag -a <tagname> -m <message>, e.g.git tag -a v1.0.0 -m "Initial release"
The above commands will create a tag for the latest commit in your current branch.
Pushing tags to GitHub
Once you create a tag in your local repository, you will need to push it to your remote GitHub repo.
- Push One Tag:
git push <remote> <tagname>, e.g.git push origin v1.0.0 - Push All Tags:
git push <remote> --tags. Note, this overwrites existing tags at the remote repo so take care if your tagging changes conflict with existing tags on the remote - Push All Tags (Safer):
git push <remote> --follow-tags. This only pushes annotated tags that from the branch you are currently pushing. It also doesn't overwrite existing tags on the remote
Working with GitHub releases
A release has several components:
- Git Tag: The specific git tag which the release will reference
- Name: The name or title of the release, usually the same as your tag name which will be the version number such as "v1.0.0
- Notes: Usually a summary of the changes in the release (changelog) but it's also a good place for any other useful information related to the release, such as contributors
- Status: A release can take several forms, that is
published,draftorprerelease - Assets: You can attach files to a release such as binaries, installers, etc. GitHub will also automatically add your source code behind your tag commit into a
zipandtar.gzarchive
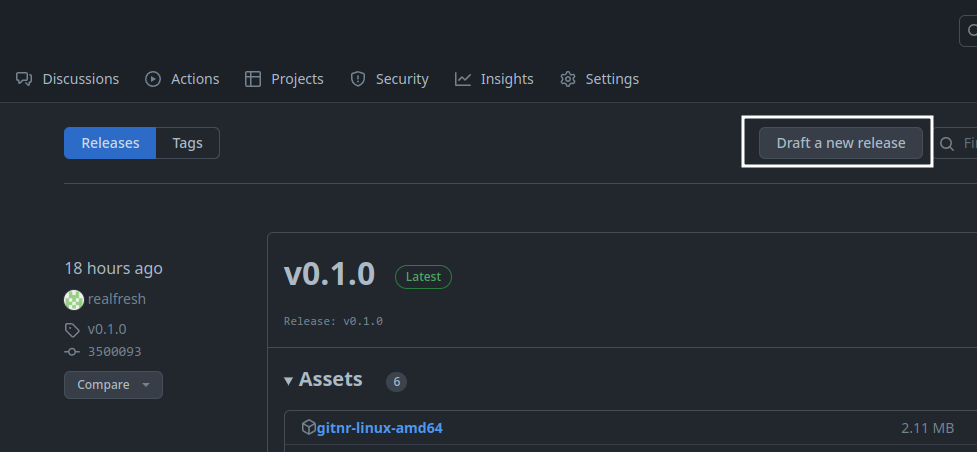
Create a release using the GitHub UI
From your repo home page if you haven't already created a release.
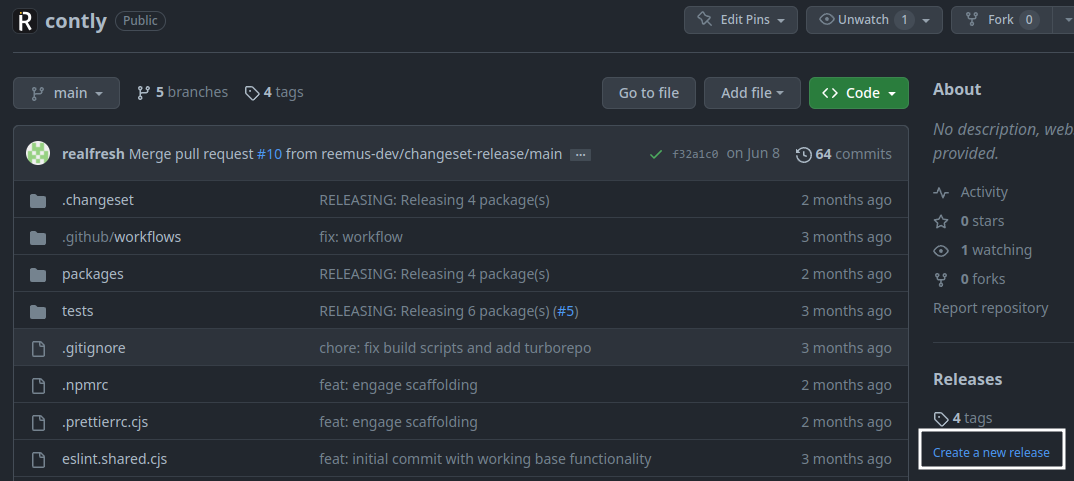
Otherwise, inside your releases page, you can use the "Draft a new release" button.
Create a release using the GitHub CLI
The GitHub CLI is an awesome tool for interacting with GitHub from the command line. You can use it to create a release. It's also preinstalled when using GitHub actions. Here is the documentation for creating a release via the CLI.
Simply put, it's as easy as running gh release create <tag>.
Other ways to create a release
- Using the GitHub API
- Various GitHub actions that try to automate the release process, for example, release-please from Google
That said, I recommend you use the CLI directly to create releases when first starting. It's a good way to learn the process and understand what's happening under the hood. Other tools and actions that try to automate the process can be confusing and hard to debug when things go wrong. I wasted more time trying to use those and ended up just using the CLI together with my own GitHub action workflows. In the end, that was so much simpler.
Where to go from here?
The above information is really all there is to it for the most part.
Start by creating releases manually. Once comfortable, automate them using your own custom scripts or GitHub actions.
Resources
Comments